Add Prettier on React App Using GitHub Actions
Table of Contents
1. What is Github Actions

공식문서에서는 다음과 같이 소개한다.
Automate, customize, and execute your software development workflows right in your repository with GitHub Actions. You can discover, create, and share actions to perform any job you'd like, including CI/CD, and combine actions in a completely customized workflow.
GitHub Actions를 통해 소프트웨어 개발 워크플로우를 저장소에서 바로 자동화, 사용자 지정 및 실행할 수 있습니다. CI/CD를 포함하여 원하는 작업을 검색, 생성 및 공유하는 작업을 검색하고, 작업을 완전히 사용자 지정된 워크플로에서 결합할 수 있습니다.
공식문서 ref) https://docs.github.com/en/actions
즉, Github에서 workflow 자동화 도구이다.
github action 을 통해서, PR이나 Commit에서 Slack에 메세지도 보낼 수 있고 테스트 코드를 실행시킬 수도 있고 여러 많은 일들을 할 수 있다.
그러나 기본적으로 제공해주는 Github Actions Runner는 성능이 좋지는 않다. 만약, 따로 개인 서버에서 실행하고 싶다면,
https://docs.github.com/en/actions/hosting-your-own-runners/adding-self-hosted-runners
을 참조하기 바란다.
2. Apply Actions in github
Actions를 업데이트하며 조금 더 알아보자.
우선, 사용하는 Github 프로젝트로 접속한다.
그 다음 아래 그림과 같이 그림의 Actions 탭으로 가보자.
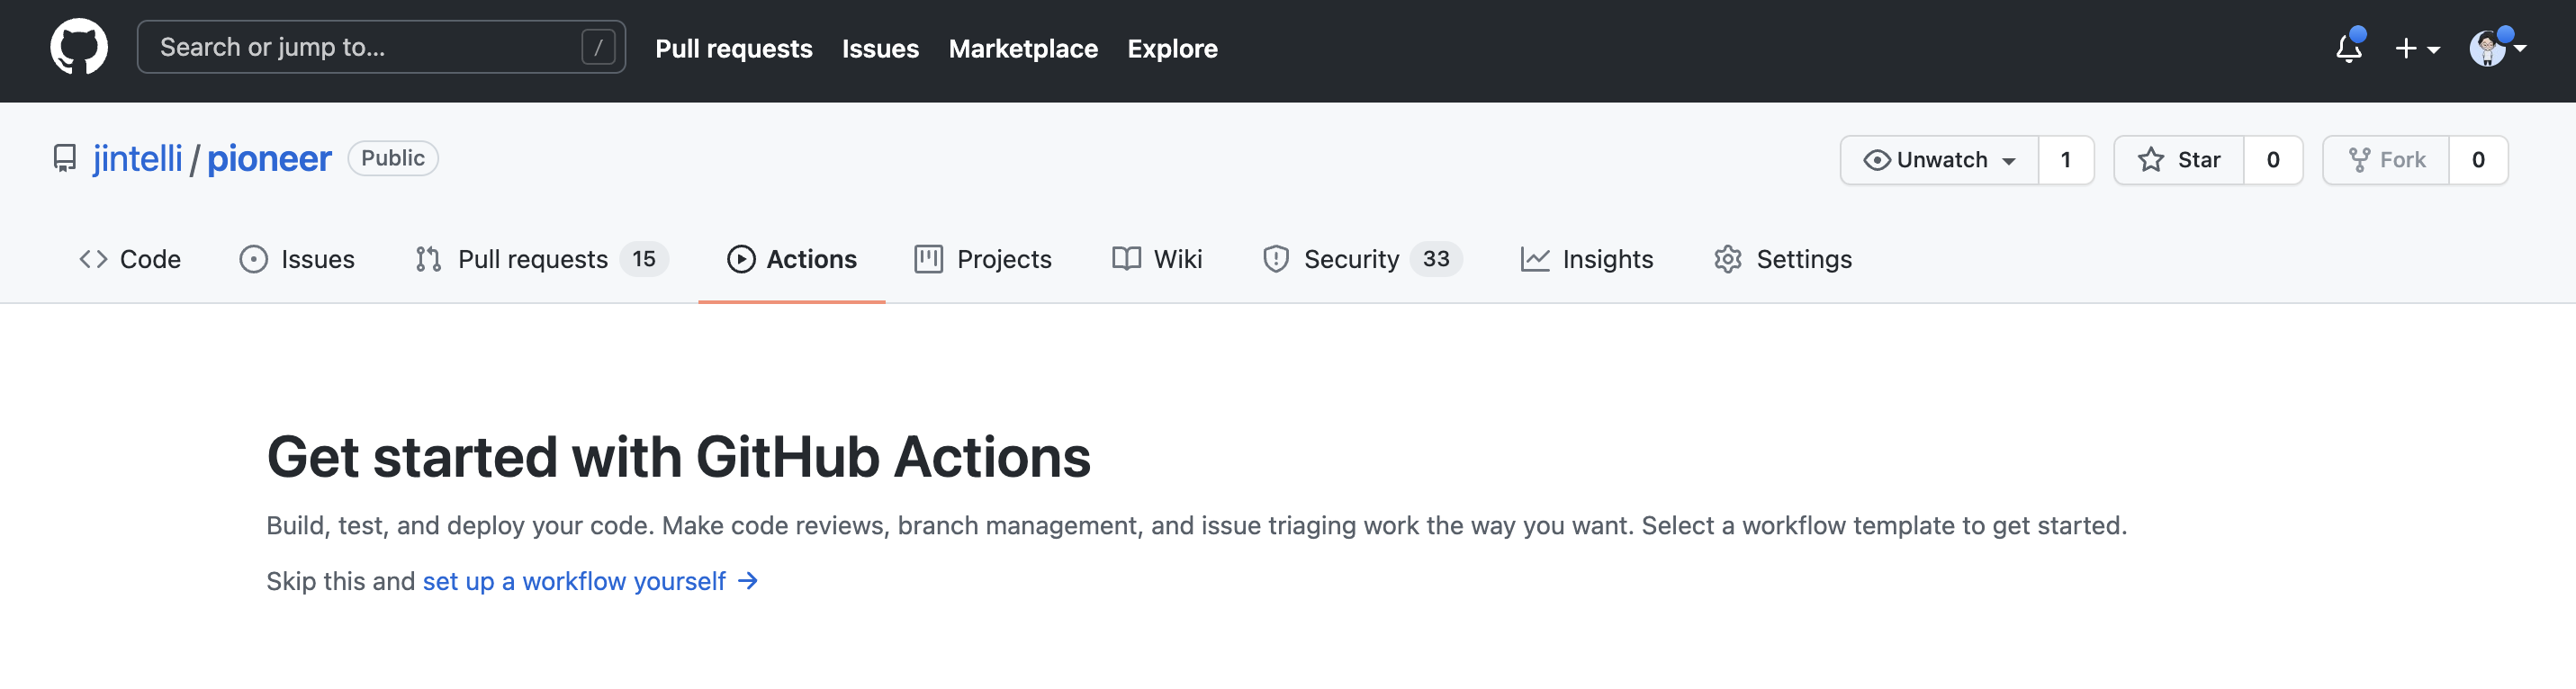
내가 첫 적용한 프로젝트는 https://github.com/jintelli/crescent 이다. 만약 구체적인 예시가 필요하다면 참고하도록 하자.
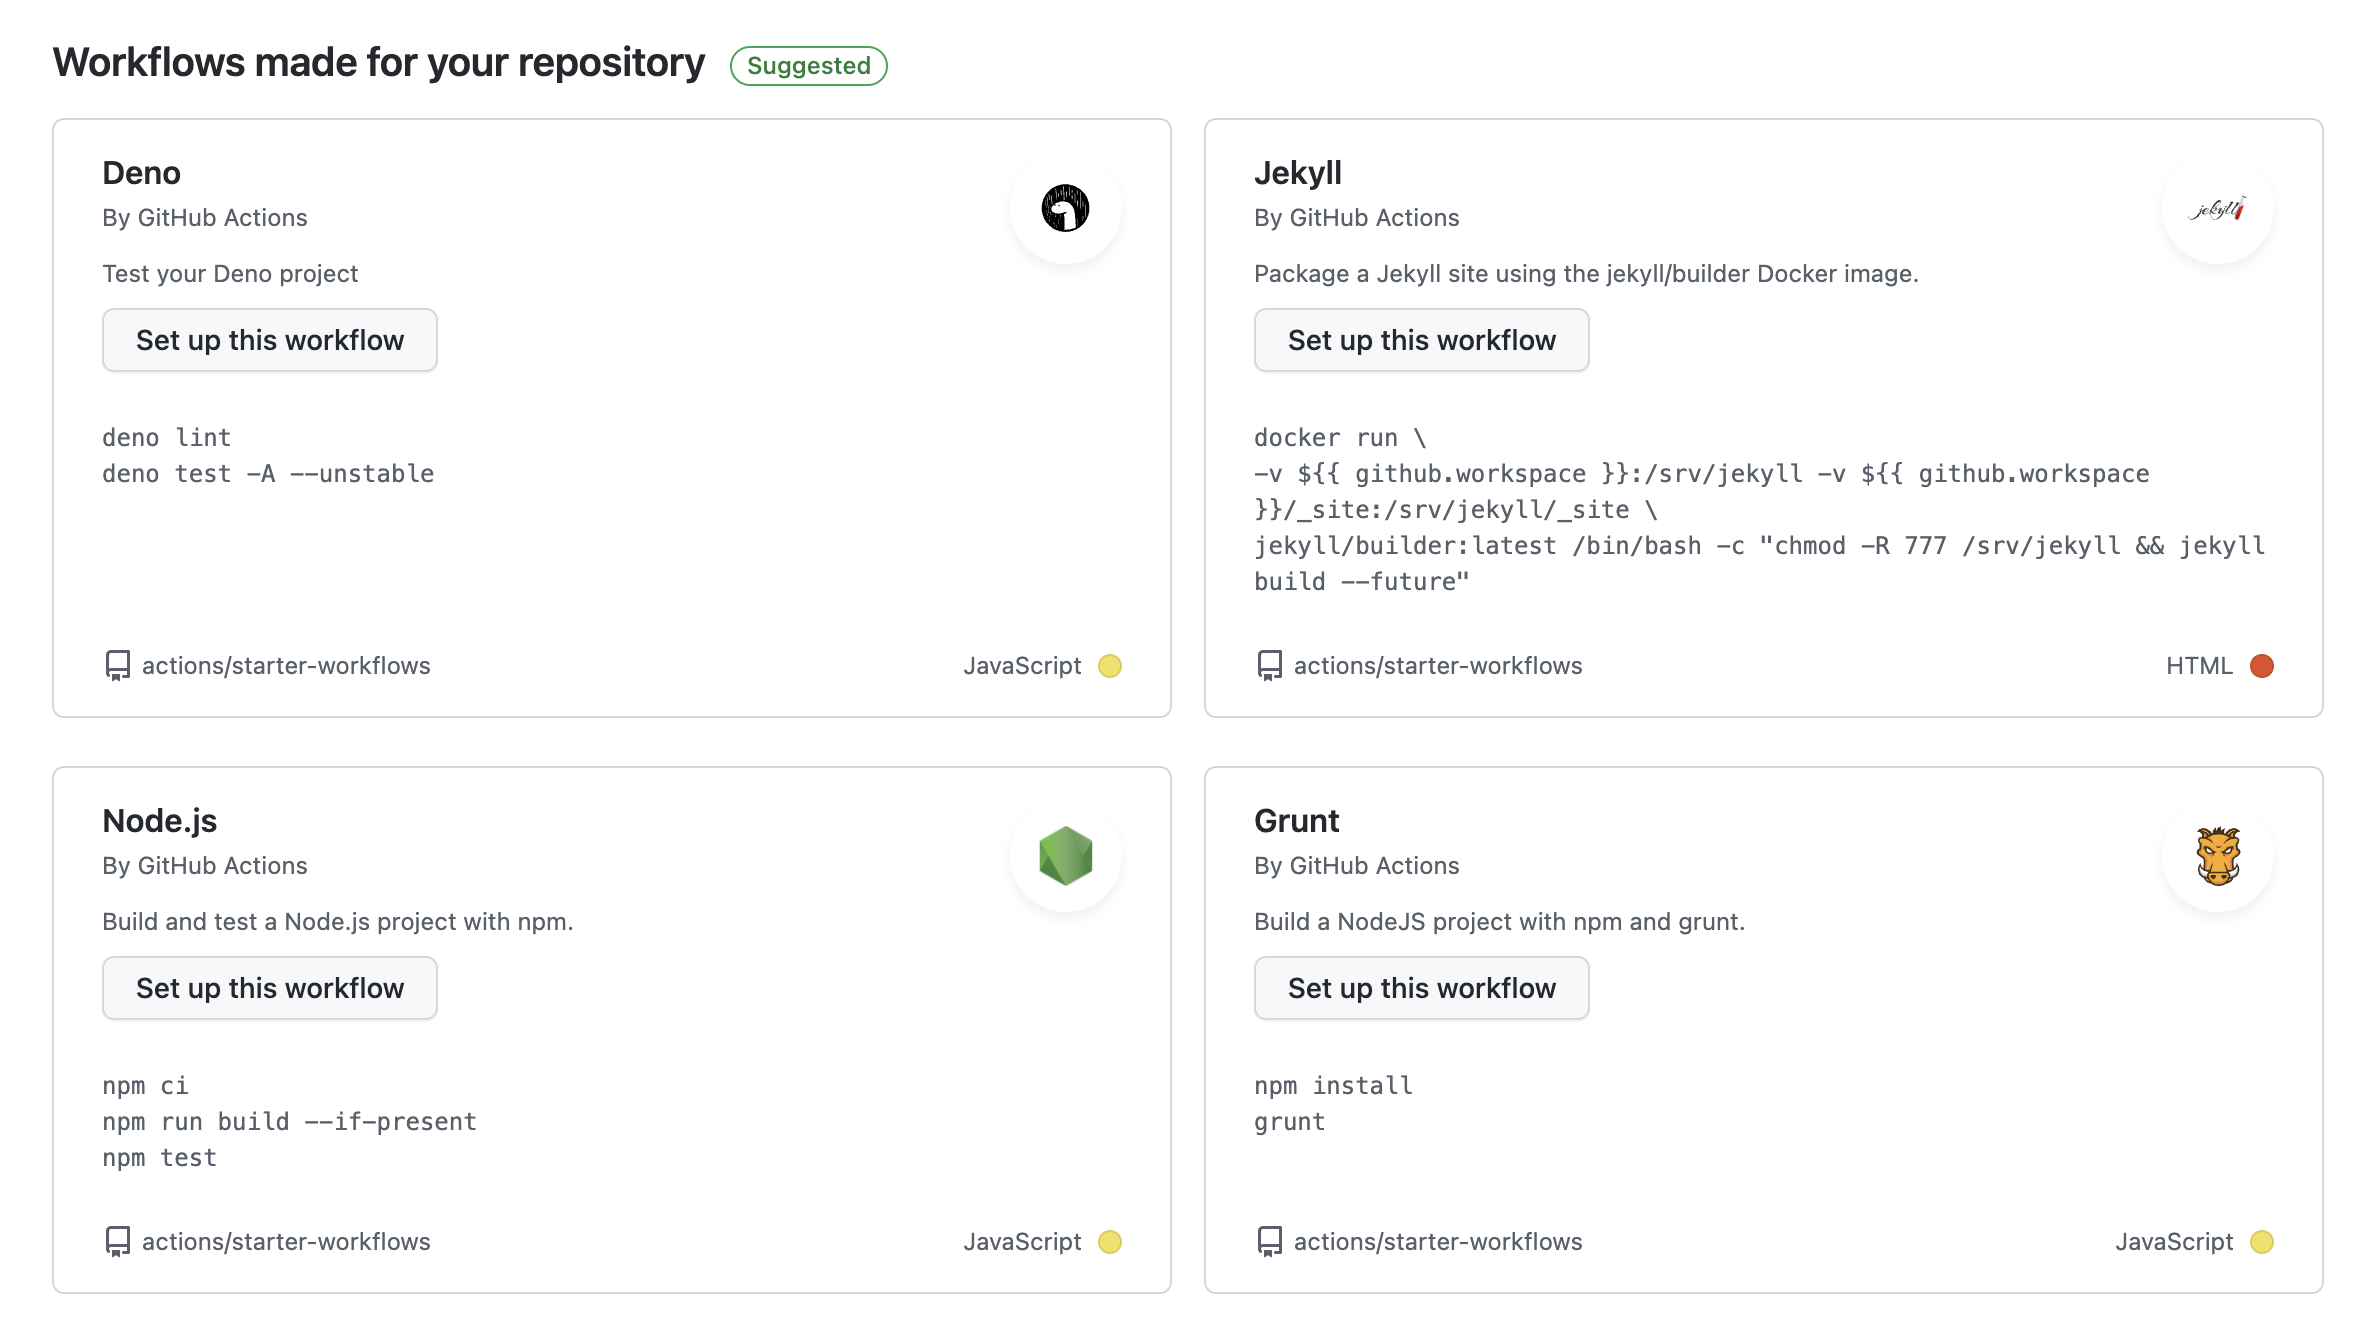
위 그림과 같이 추천하는 템플릿을 보고 필요한 것을 선택한다.
우리는 React 프로젝트에 적용할 것이므로, Node.js 를 선택하여 작성하면 된다.
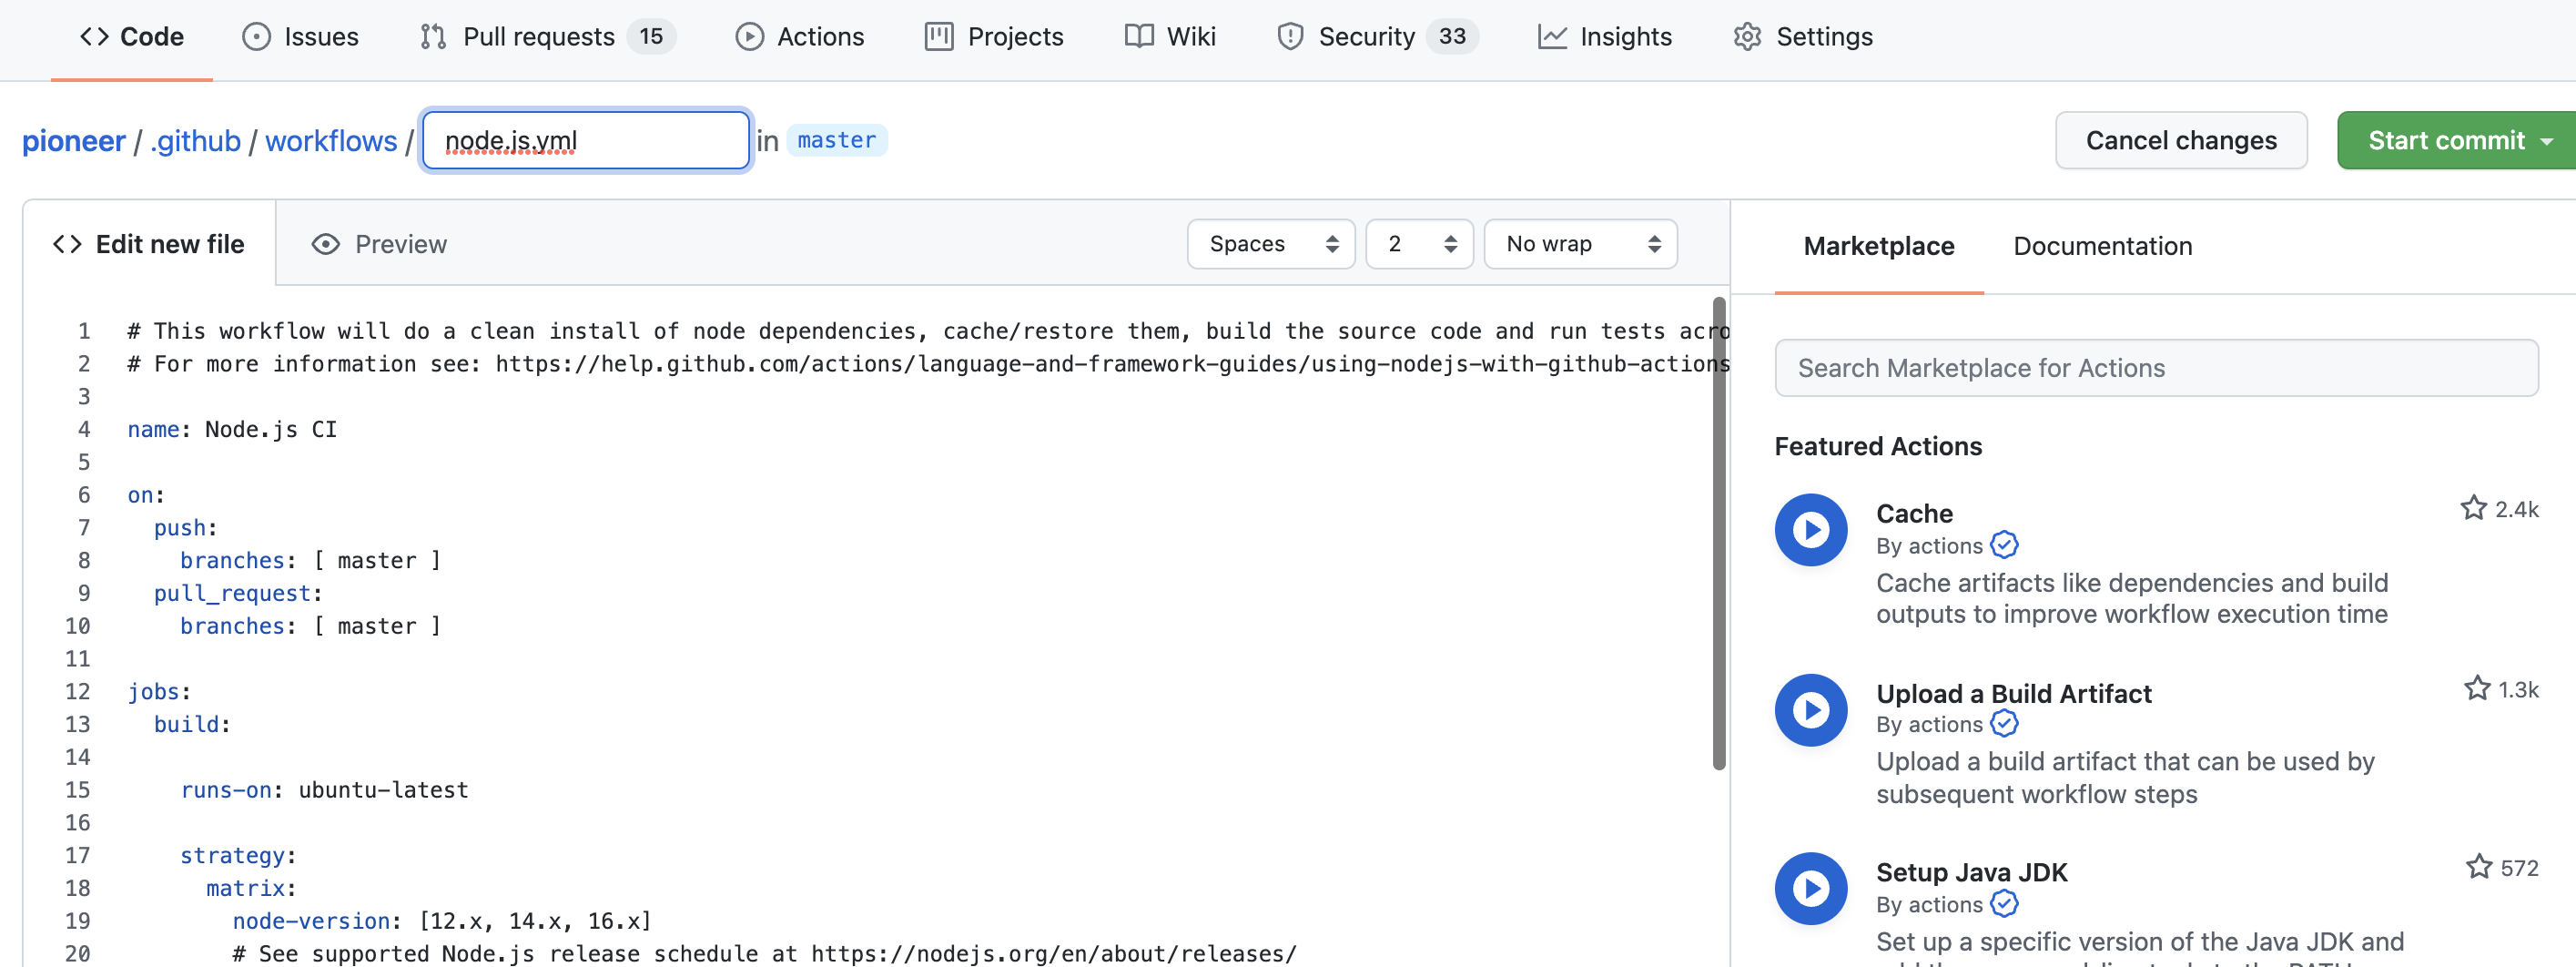
클릭하면, 위 사진과 같이 창이 뜬다.
기본 경로는 {project_name}/.github/workflows/node.js.yml 이며, 이름은 변경할 수 있다.
파일을 생성하면 친절하게도, github-actions 공식문서도 덤으로 링크로 준다.
이 내용을 기반으로 구성 요소들을 간략히 파악해보도록 하자.
3. node.js.yml
# This workflow will do a clean install of node dependencies, cache/restore them, build the source code and run tests across different versions of node
# For more information see: https://help.github.com/actions/language-and-framework-guides/using-nodejs-with-github-actions

name: Node.js CI

on:
  push:
    branches: [ master ]
  pull_request:
    branches: [ master ]

jobs:
  build:

    runs-on: ubuntu-latest

    strategy:
      matrix:
        node-version: [12.x, 14.x, 16.x]
        # See supported Node.js release schedule at https://nodejs.org/en/about/releases/

    steps:
    - uses: actions/checkout@v2
    - name: Use Node.js ${{ matrix.node-version }}
      uses: actions/setup-node@v2
      with:
        node-version: ${{ matrix.node-version }}
        cache: 'npm'
    - run: npm ci
    - run: npm run build --if-present
    - run: npm test
3.1. on
위의 내용에서 on: 으로 시작하는 내용부터 살펴보자.
on:
  push:
    branches: [ master ]
  pull_request:
    branches: [ master ]
기본적으로 push와 pull_request할 때의 옵션이 주어진다.
그리고 어떤 브런치에서 작업을 할때 actions가 동작할지 정할 수 있다.
다음으로는 가장 중요한 빌드의 구성요소에 대해서 조금 더 알아보자.
3.2. build
3.2.1 runs-on
jobs:
  build:

    runs-on: ubuntu-latest

    strategy:
      matrix:
        node-version: [12.x, 14.x, 16.x]
        # See supported Node.js release schedule at https://nodejs.org/en/about/releases/

    steps:
    - uses: actions/checkout@v2
    - name: Use Node.js ${{ matrix.node-version }}
      uses: actions/setup-node@v2
      with:
        node-version: ${{ matrix.node-version }}
        cache: 'npm'
    - run: npm ci
    - run: npm run build --if-present
runs-on의 경우는 어떤 OS(operating system) 에서 동작할 지를 정의하여 주는 것이다. 기본은 우분투(리눅스) 환경의 실행이다.
만약 당신이 windows나 mac으로 변경을 원한다면,
runs-on: windows-latest
runs-on: macos-latest
으로 변경하여 사용할 수 있다.
혹은 당신이 Docker를 이용하거나, 당신의 Infrastructure의 self-hosted runner 에서 동작시키고 싶다면,
https://docs.github.com/en/actions/learn-github-actions/workflow-syntax-for-github-actions#jobsjob_idruns-on
을 참조하여 구체적인 내용을 알아보기를 바란다.
3.2.2 Specifying the Node.js version
Node.js 버전을 지정하는 가장 쉬운 방법은 GitHub에서 제공하는 setup-node 작업을 사용하는 것이다.
제공하는 템플릿에는 4가지 Node.js 버전(10.x, 12.x, 14.x, 15.x)으로 코드를 빌드하고 테스트하는 매트릭스 전략이 포함한다. 'x'는 버전에 사용할 수 있는 최신 부 및 패치 릴리스와 일치하는 와일드카드 문자이다.
strategy:
  matrix:
    node-version: [10.x, 12.x, 14.x, 15.x]

steps:
- uses: actions/checkout@v2
- name: Use Node.js ${{ matrix.node-version }}
  uses: actions/setup-node@v2
  with:
    node-version: ${{ matrix.node-version }}
물론 당신은 와일드 카드(x) 대신에 구체적인 버전을 명시할 수도 있다.
strategy:
  matrix:
    node-version: [8.16.2, 10.17.0]
또는 스텝에서 직접 버전을 선택하여, 부분적으로도 사용할 수도 있다.
name: Node.js CI

on: [push]

jobs:
  build:

    runs-on: ubuntu-latest

    steps:
      - uses: actions/checkout@v2
      - name: Use Node.js
        uses: actions/setup-node@v2
        with:
          node-version: '12.x'
      - run: npm ci
      - run: npm run build --if-present
      - run: npm test
3.2.3 Installing dependencies
우선, npm에서 무언가를 하기위해선 가장 먼저 npm install을 하여야 한다.
steps:
- uses: actions/checkout@v2
- name: Use Node.js
  uses: actions/setup-node@v2
  with:
    node-version: '12.x'
- name: Install dependencies
  run: npm install
위와 같이 작성하여 npm install을 할수도 있지만, npm ci라는 것을 사용하면 조금 더 효율적으로 사용할 수 있다.
npm ci를 사용하면 package-lock.json 또는 npm-shrinkwrap.json 파일에 버전이 설치되고, package-lock.json 파일에 대한 업데이트가 방지된다.npm ci를 사용하는 것이 일반적으로 npm install을 실행하는 것보다 빠르다.
see npm ci and "Introducing npm ci for faster, more reliable builds.
4. Actions in my project
https://github.com/jintelli/crescent/blob/feature-git-checker/.github/workflows/git-checker.yml
아래는 내 프로젝트에 적용한 github actions의 내용이다.
name: CI
on:
  push:
    branches: [ dev, master ]
  pull_request:
    branches: [ dev, master ]

  workflow_dispatch:

jobs:
  build:
    runs-on: ubuntu-latest
    steps:
      - uses: actions/checkout@v2
      - uses: actions/cache@v2
        with:
          path: ~/.npm
          key: ${{ runner.os }}-node-${{ hashFiles('**/package-lock.json') }}
          restore-keys: |
                        ${{ runner.os }}-node-
      - uses: actions/setup-node@v2
        with:
          node-version: '16.x'
          registry-url: 'https://npm.pkg.github.com'

      - run: npm ci
      - run: npm run format
      - run: npm run test
      - run: npm run build

      - name: Notify failure
        uses: 8398a7/action-slack@v3
        env:
          SLACK_WEBHOOK_URL: ${{ secrets.SLACK_WEBHOOK_URL }}
        with:
          status: ${{ job.status }}
          username: github-actions
          channel: '#alert-crescent'
        if: failure()
적용 범위를 [master, dev]로 범위를 확장 시켰고, node-version을 16으로 전환하였다.
그리고 run: npm run prettier를 추가하였다.
마지막으로, 실패 시 SLACK으로 메세지가 전송되도록 업데이트 하였다.
그리고 다음 코드를 github에 반영하고, 잘 동작하는지 확인해보자.
https://github.com/jintelli/crescent/pull/1/checks
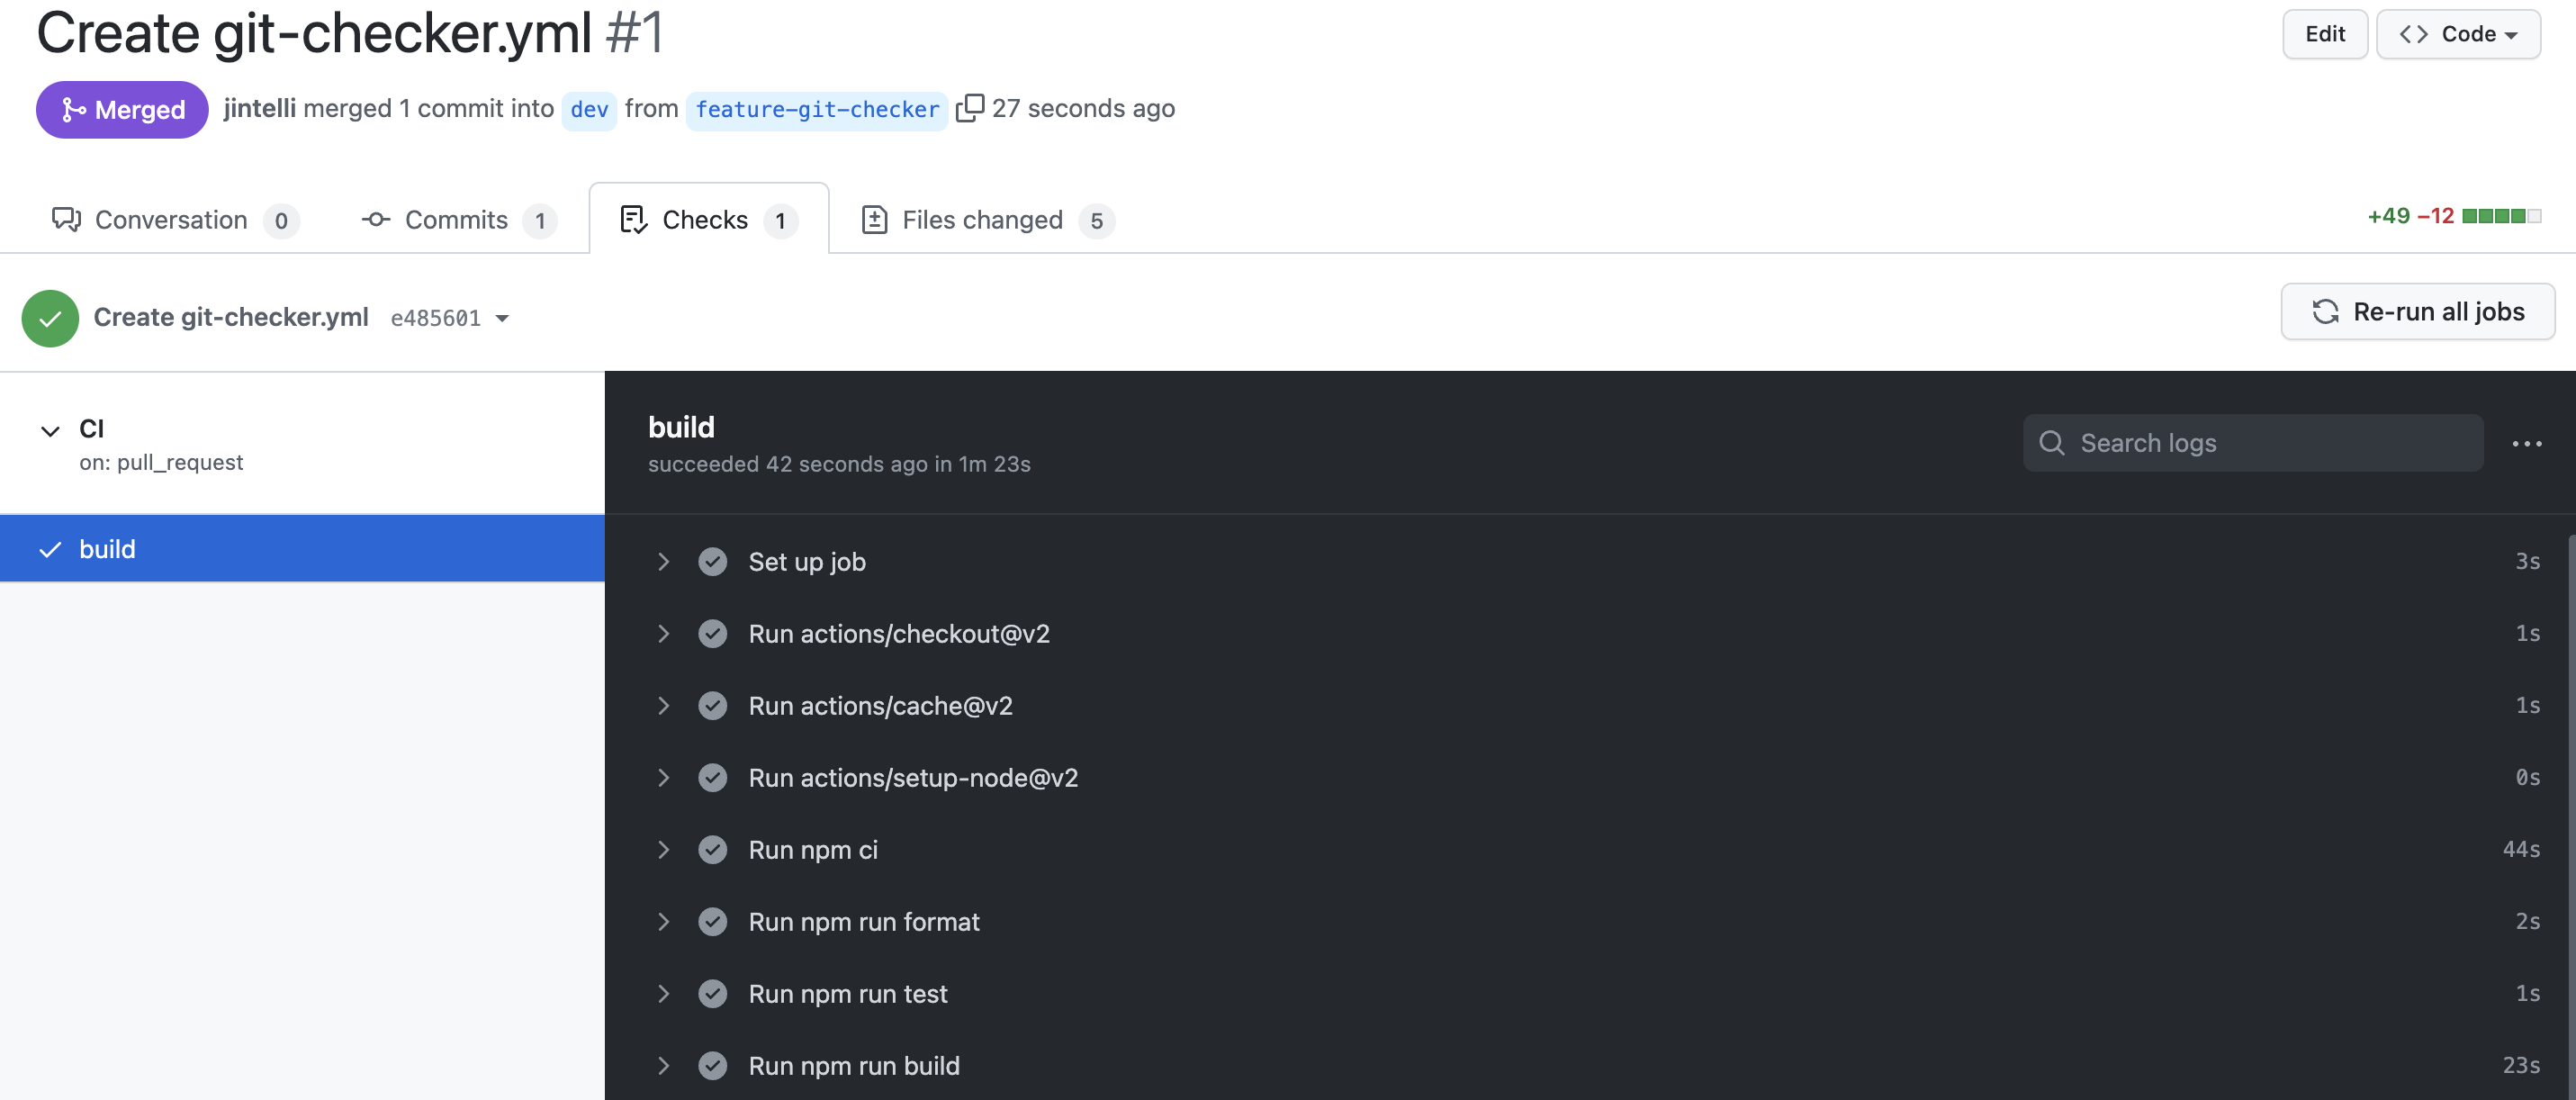
위와 같이, 에러가 나지 않고 동작을 완료하였다면 성공한 것이다.
여기까지 읽으시느라 고생했다.
다음편에서 보도록 하자!
': Front-end' 카테고리의 다른 글
| [React] Material UI (0) | 2021.07.31 |
|---|---|
| [React] 리액트 빈 프로젝트 만들기 (0) | 2021.06.18 |
| nodenv 이용해서 npm 설치하기 (0) | 2021.06.04 |


